UNOFFICIAL // GUIDES
IRON NEST Guides
Operator fundamentals for plotting reports, calculating firing solutions, reading the map, and working the turret with confidence.
9 PLAYER GUIDES
All Guides guides
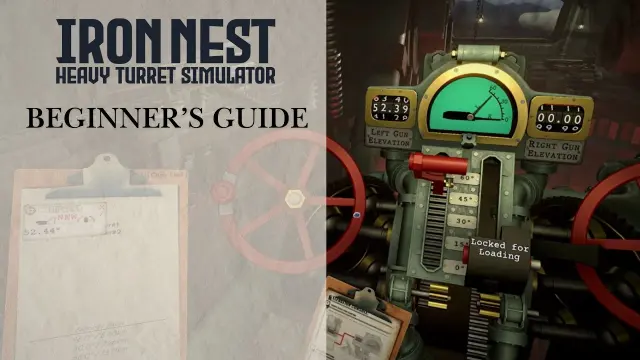
IRON NEST Guide: Controls and First Firing Cycle
An IRON NEST guide for beginners: learn the core controls, map geometry, calculator setup, loading checks, and impact-based correction for a first firing cycle.
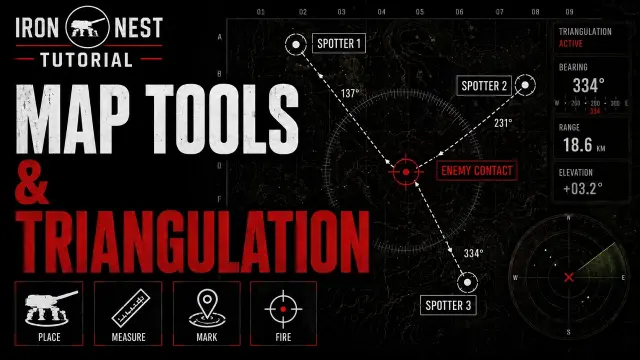
IRON NEST How to Triangulate Spotter Reports
IRON NEST how to triangulate reports by drawing each bearing or distance from its named spotter, then measure the final target line from the Nest.
IRON NEST Counter Battery Timed Operations Guide
IRON NEST counter battery is a timed mission: prepare the map, calculator, shell, and charge early, then correct each shot without mixing target data.

IRON NEST Calculator Safe Firing Input Guide
This IRON NEST calculator guide covers the in-game workflow from final Nest-to-target range and charge selection to elevation, loading, and correction.
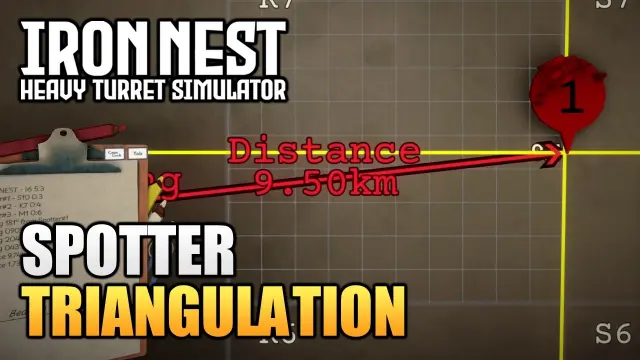
IRON NEST Bearing From Spotter Without a Wrong Origin
IRON NEST bearing from spotter starts at the reporting spotter; measure the final firing bearing from the Nest to the plotted target before loading a round.

IRON NEST How to Open Vent: Front Window Guide
IRON NEST how to open vent usually means operating the front observation window. Find the nearby red switch, interact once, then confirm the window moves.
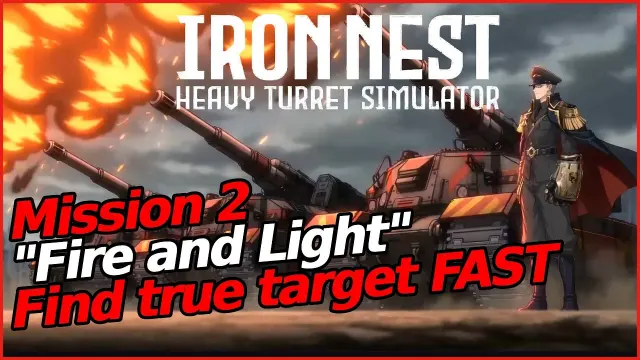
IRON NEST Shell Types: HE, AP, and STAR Guide
This IRON NEST shell types guide explains when to use HE, AP, and STAR, while avoiding invented stats and the false claim that the game has 30 shell types.
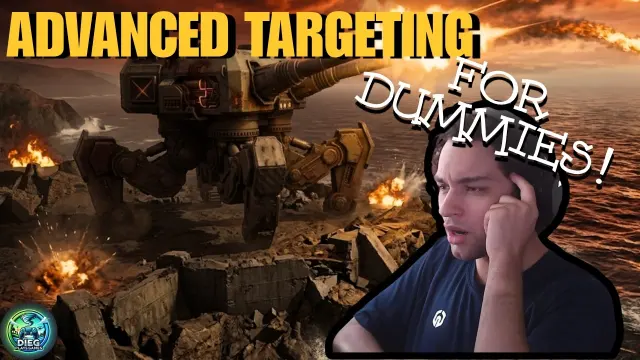
IRON NEST How to Calculate Elevation Safely
IRON NEST how to calculate elevation uses the in-game calculator after you know the range, ammunition choice, and charge setting for your current shot.
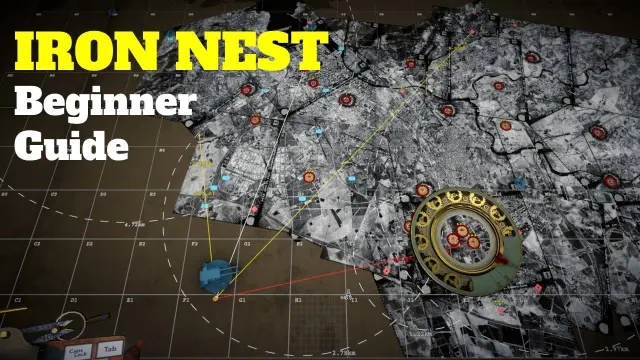
IRON NEST Map Icons and How to Read Them
This IRON NEST map icons guide explains how to use the current map key, reports, and mission context without inventing a fixed universal symbol legend.
CONTINUE EXPLORING